How I organize my posting process
5 min read
What it means "crossposting" #
Crossposting is the act of posting the same message to multiple information channels; forums, mailing lists, or newsgroups.
-- Wikipedia
What I actually do for crossposting an article #
First of all, I am a total newbie about having a blog, posting articles and I have just few followers, so... surely I am not the best at doing it, but as far as a friend asked me which steps I make to post blog articles, I'd like to share how my process works! 💪🏻 😄
Here it is my process flow chart:

1. Organize ideas #
I do not stare at the screen praying myself to have a brilliant idea for a new post. Surprisingly, ideas come to me doing my everyday work 🙃 When I find myself in some tricky bug or issue to resolve, I take notes about the problem, how I approached it and finally how I solved it (yep, also if it is just a workaround!).
I take notes with Notion, an awesome tool a friend recommended for taking notes, to-do lists, tables and a million other things to organize all your life.
I've always been a big fan of Google Sheets and its spreadsheets, so I created a table in Notion to keep all my posts organized.
The table is quite simple, each row is a post and has some attributes:
- action
- post title
- status
- checkboxes options
- notes

When I discover something that worth a blog post, I add a row in my Notion table and I write down a quick recap of what was the problem and what was the solution to solve it.
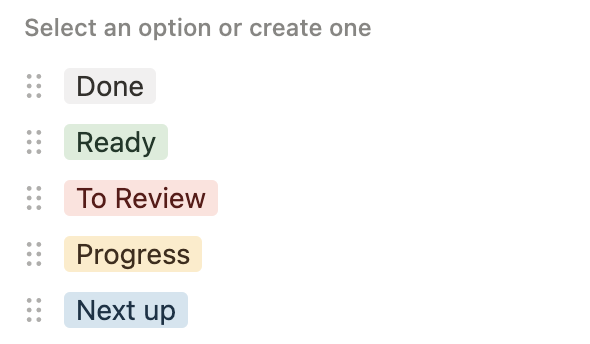
Post status #
To have a clear view about the post status, when I take charge of a post I assign to it the first status "next up" and so on as the process continues:
| status | description |
|---|---|
next up |
next post I am going to write |
progress |
I already started to write it |
to review |
last check before publishing |
ready |
ready to be published |
done |
published on blog and other blogging platforms |
2. Write down the post #
I love writing in plain markdown with a basic distraction-free app, so use to write my post using Visual Studio Code as markdown editor.
⚡️ Bonus tip #
To check the markdown final result, I use the built-in Markdown Preview:
cmd + shift + p -> Markdown: Open Preview 😎


3. Add the post permalink #
Then I choose a permalink for my blog post, and add it to the front matter.
In this way,
- it doesn't matter if I will change the post title or its enclosing folder later, as far as the
permalinkis freezed and it is not based on post title or path. - I now have a ready-to-share permalink to my blog post, though the post is not publiblished yet! I am going to use it in the next step.
Example:
---
title: ...
abstract: ...
quoteAuthor: ...
date: ...

permalink: posts/add-html-classes-to-11ty-markdown-content/
...
---
the front matter above will create a post with this URL:
https://giuliachiola.dev/posts/add-html-classes-to-11ty-markdown-content/5. Crosspost on DEV.to and Hashnode #
DEV.to and Hashnode are awesome free developer blogging platforms. Posting there allows to keep in touch with other developers. I learned a lot out there! 😍
Posting my articles even in these two platforms, allows me to expose further my posts, and it gives the possibility for other developers to easily comment on my articles, in order to receive feedback 🔥
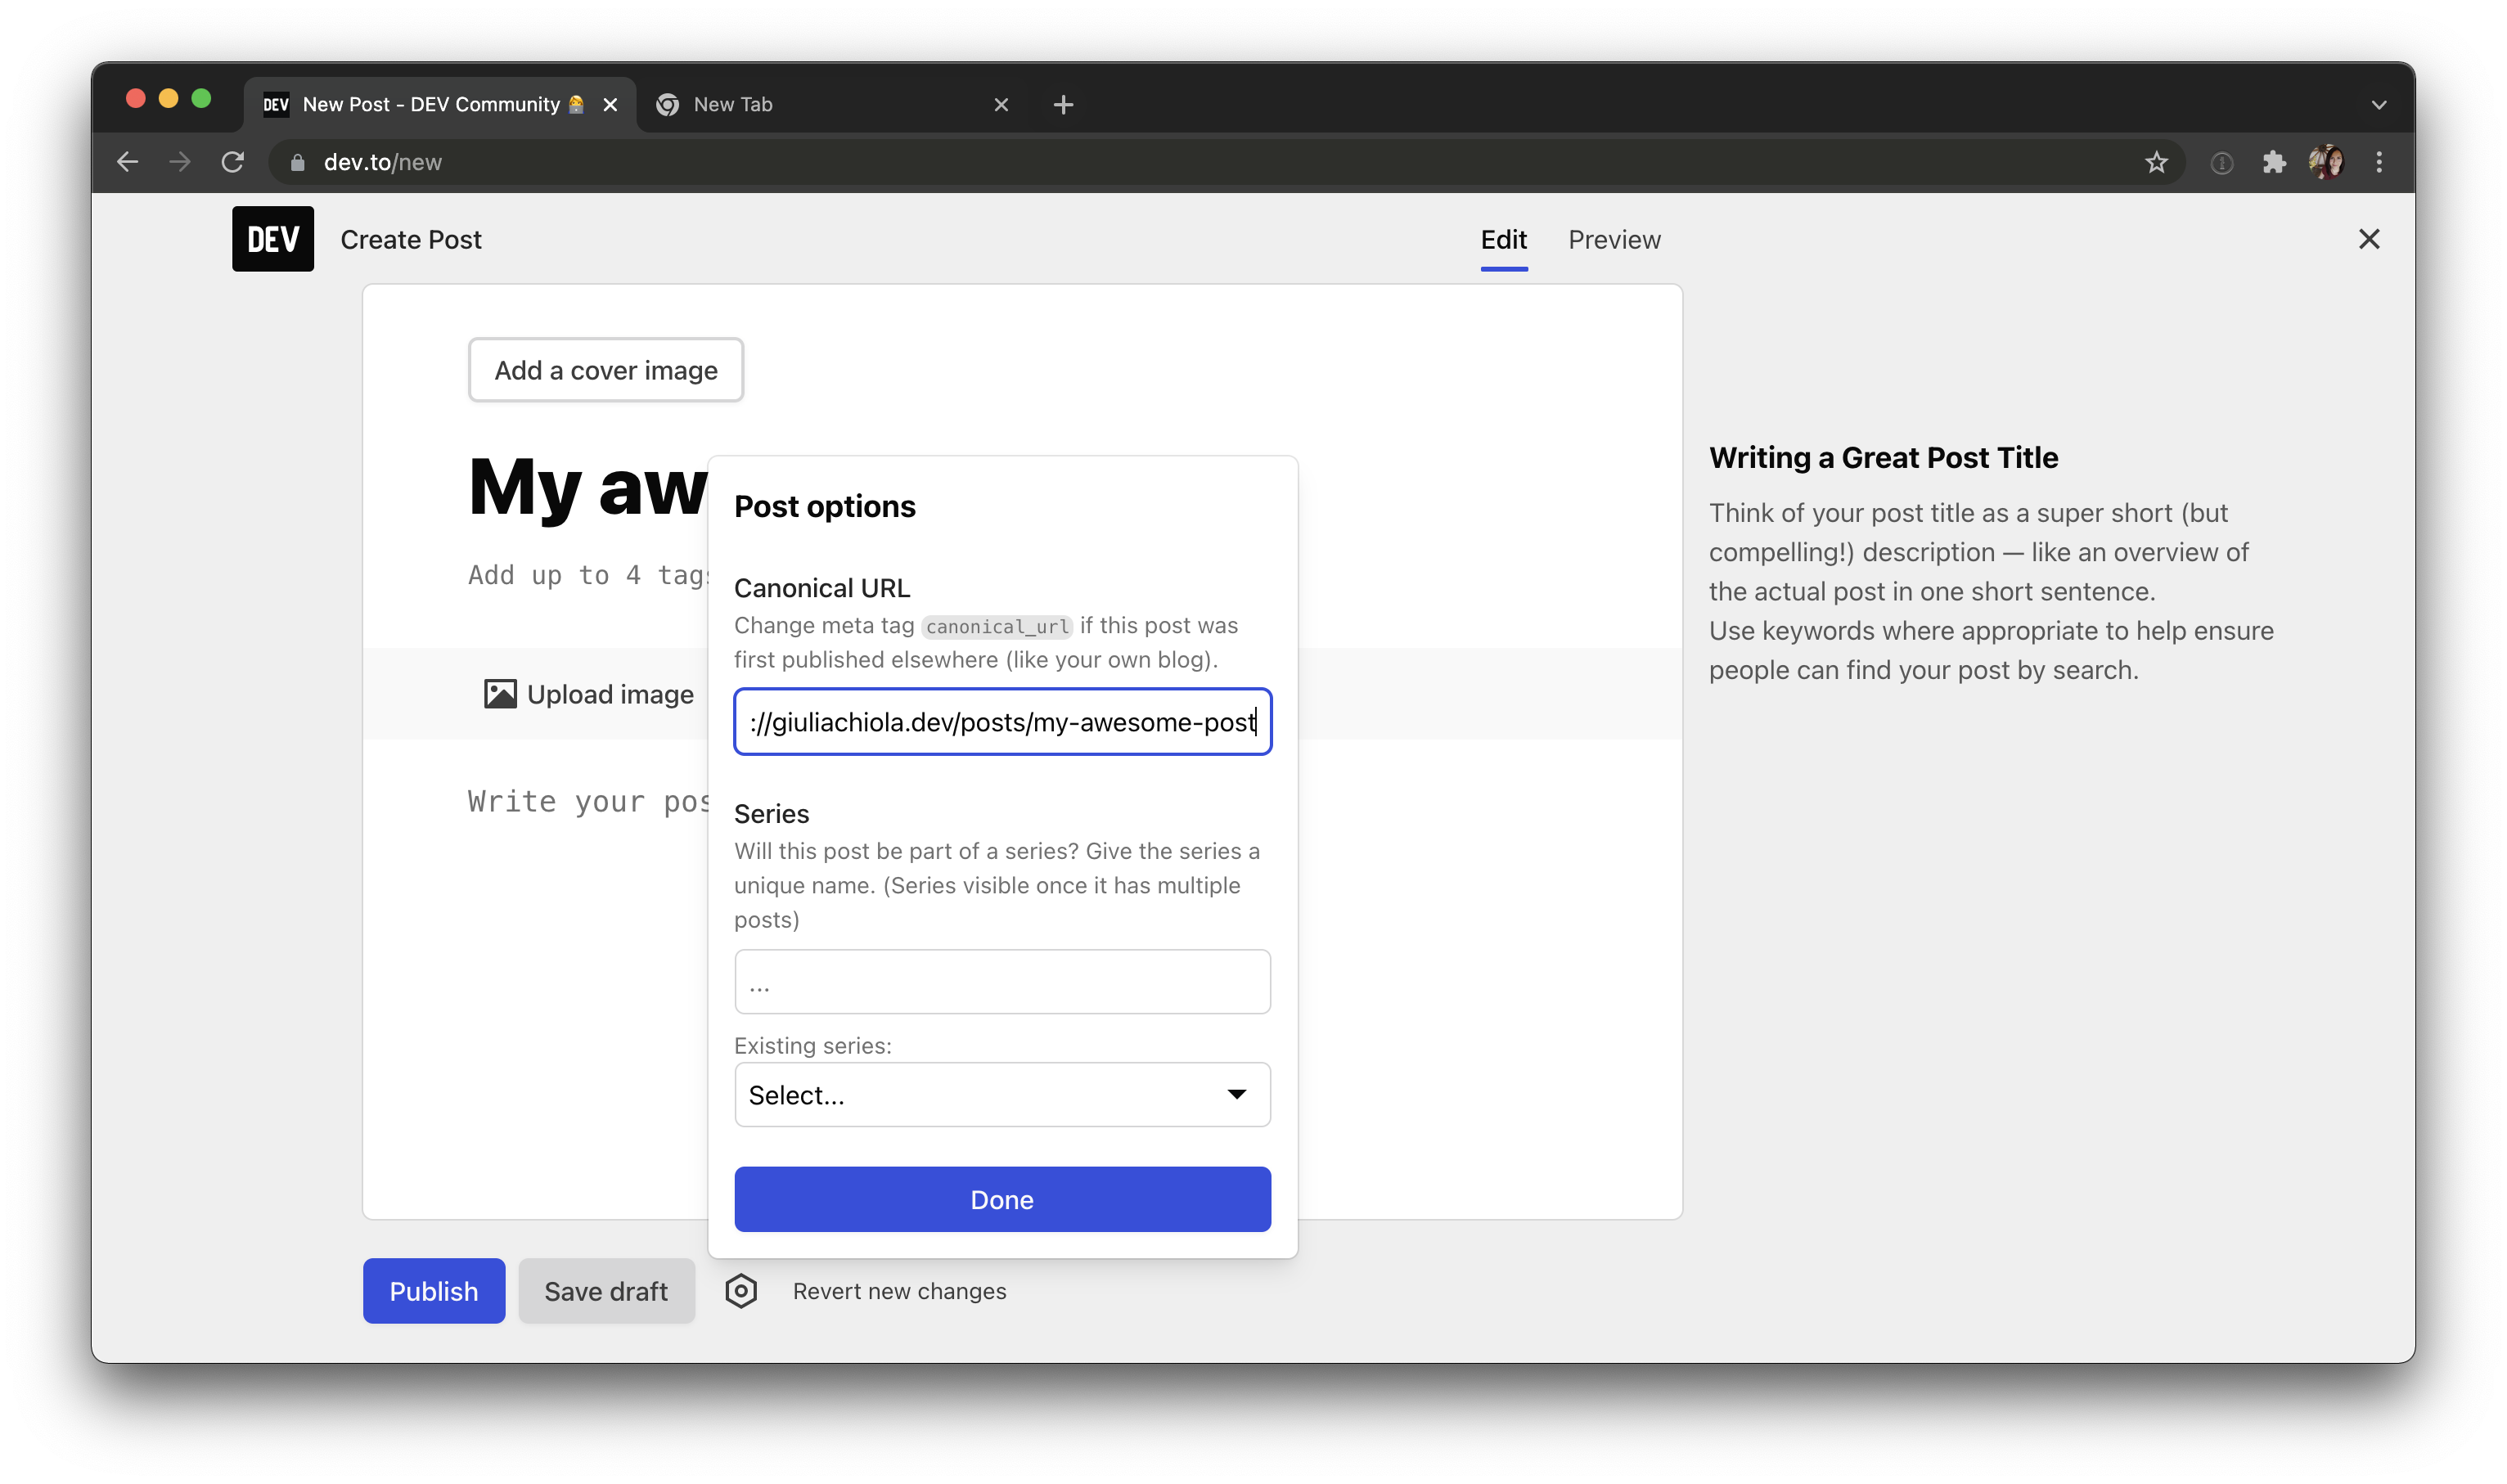
Canonical URL #
The only thing to pay attention when cross posting is to indicate in the "cloned-post" the link of the original article. I have to do it as far as Google does not like duplicated content with the same "relevance", but it allows to have a copy elsewhere if I declare which one is the original.
To do it, I have to indicate in the platform configurations which is the original post (my blog), and therefore accordingly which is the secondary one.
Both on dev.to and hashnode, is possible to indicate the "original" URL – technically called canonical url adding it the full permalink URL I choose in step 3:

📚 More info
DEV.to and Hashnode URLs #
Clicking "Publish" on these two blogging platforms, my posts have a custom URL hosting there.
I copy these URLs and paste them into the front matter of my personal blog, where I created two specific properties with 11ty, crossPostDEV and crossPostHashnode:
---
title: ...
abstract: ...
quoteAuthor: ...
date: ...

permalink: posts/add-html-classes-to-11ty-markdown-content/
crossPostDEV: https://dev.to/giulia_chiola/add-html-classes-to-11ty-markdown-content-18ic
crossPostHashnode: https://giuliachiola.hashnode.dev/add-html-classes-to-11ty-markdown-content

...
---
In this way, I can use these two links at the bottom of my post to link to the crossposted articles.

<div class="c-article-section__bottom-links">
  {% if crossPostDEV and crossPostHashnode %}
  <p>
    Comment on
    <a href="{{ crossPostDEV }}" target="_blank" rel="noopener">DEV.to</a>
    or
    <a href="{{ crossPostHashnode }}" target="_blank" rel="noopener">Hashnode</a>
  </p>
  {% endif %}
</div>
Why I would do that? Because I really appreciate feedback from other devs, and if a developer has a DEV.to or Hashnode account, can comment my content easily there.
6. Publish the post on my blog #
Store the blog content #
I store my blog contents in a public repository on GitHub, for mainly two reasons:
- I want to separate content from the "preview layer". Right now I am using 11ty as Static Site Generator, and it gets my content repository as a git submodule, but who knows what I would like to do in the future, maybe I will change my mind about 11ty and I will use another SSG 🧐 Separating the two areas – contents from the preview layer – I can change the preview layer without affecting the content.
- I want to keep the content public, so open for suggestions. If someone find out a typo or an incorrect explanation in a post, he/she can go to the bottom of the article at "Edit this page on GitHub" and open me a pull request about the suggestion changes.
How to update the live blog #
The standard procedure when working with submodules is:
- work inside the submodule repository
- push the changes
- go inside to the main repository and pull the changes related to the submodule
but in my flow this process was really overkill and I was wasting too much time 😱 so I decided to work "consciously wrong" with submodules to take advantage of them:
- inside the main repo, I work directly into the submodule folder
main-repo/path/to/submodule/ - I commit my changes
- and push (in this step I am pushing to the submodule's remote origin)
- *I go back to the
main-repo/folder and I create a commit that contains the submodule updates, then eventually I push the submodule changes
*To do it quickly ^^, I added an alias to my .zshrc config file:
alias blog-update='gp && cd ~/Sites/super-blog-11ty/ && gco develop && gcam "content: update submodule" && gp'that does the following steps:
gp= push new content changes inside the submodulecd ~/Sites/super-blog-11ty/= go to the main-repo folder&& gco develop= switch on 'develop' branchgcam "content: update submodule"= add submodule changes and commit them to the main-repogp= push changes
Ok, so a real example is like that:
# do some changes into the editor,
# then commit changes to the content folder
~/Sites/super-blog-11ty/super-blog-content > main > gcam 'content: update 11ty post'
# launch the alias
~/Sites/super-blog-11ty/super-blog-content > main > blog-update

# ...(writing files stuff)...
To github.com:giuliachiola/super-blog-content.git
   56f1485..38ba5a5  main -> main
M	super-blog-content

Already on 'develop'
Your branch is up to date with 'origin/develop'.
[develop cf2e1b6] content: update submodule

# ...(writing files stuff)...
To github.com:giuliachiola/super-blog-11ty.git
   13062f5..cf2e1b6  develop -> develop
Then I do a quick check running the project locally
On branch develop
Your branch is up to date with 'origin/develop'.

gitSubmodules changed but not updated:

* super-blog-content 6f40b4e...0db916d (1):
  > content: update 11ty post
If everything is fine I commit the submodule changes to develop and then merge develop into the main branch.
Pushing the main branch will trigger a Netlify build pipeline that will deploy my updated blog.

Ok now the blog is updated live! ✨
7. Share on twitter #
The last step is to share on my Twitter account my last post published.
Final thoughts #
Yep, I think this process is really exhausting 😩 but for now I haven't found a better solution to achieve both goals:
- have contents on my own platform
- give the opportunity to other devs to easily send me feedback
Therefore for now I'll go with these steps! 🔥 Let me know if you found a more manageable approach.