VueJS: basic project setup
5 min read
🧨 !important
edited on September 2022:
this guide used Vue 2, probably now it is obsolete and maybe you would like to use Vue 3 instead. Here it is the link to the migration guide.
I recently approached the world of Vue JS and its loyal friend, Webpack. In this tutorial there are some simple tips to get you started on a project.
I will divide the guide into 5 independent parts:
- Vue + Webpack
- Vuex
- SASS
- Boostrap
1. Install Vue + Webpack #
Project setup #
First, check if you have vue-cli installed and updated. If not, this command will install/update it to the latest version:
npm i -g vue-cliGo to the system folder you want to create the project, than run
vue init webpack <projectname>Let's press Enter (implicit "Yes") for all the questions, except those for "Setup Unit Test". If you, as me, do not need unite tests in this simple project do not install them (in any case, if you realize that you need them later, they can always be installed at any time).
Project name projectname
? Project description A Vue.js project
? Author Giulia Chiola
? Vue build standalone
? Install vue-router? Yes
? Use ESLint to lint your code? Yes
? Pick an ESLint preset Standard
? Set up unit tests No
? Setup e2e tests with Nightwatch? No
? Should we run `npm install` for you after the project has been created? (recommended) npm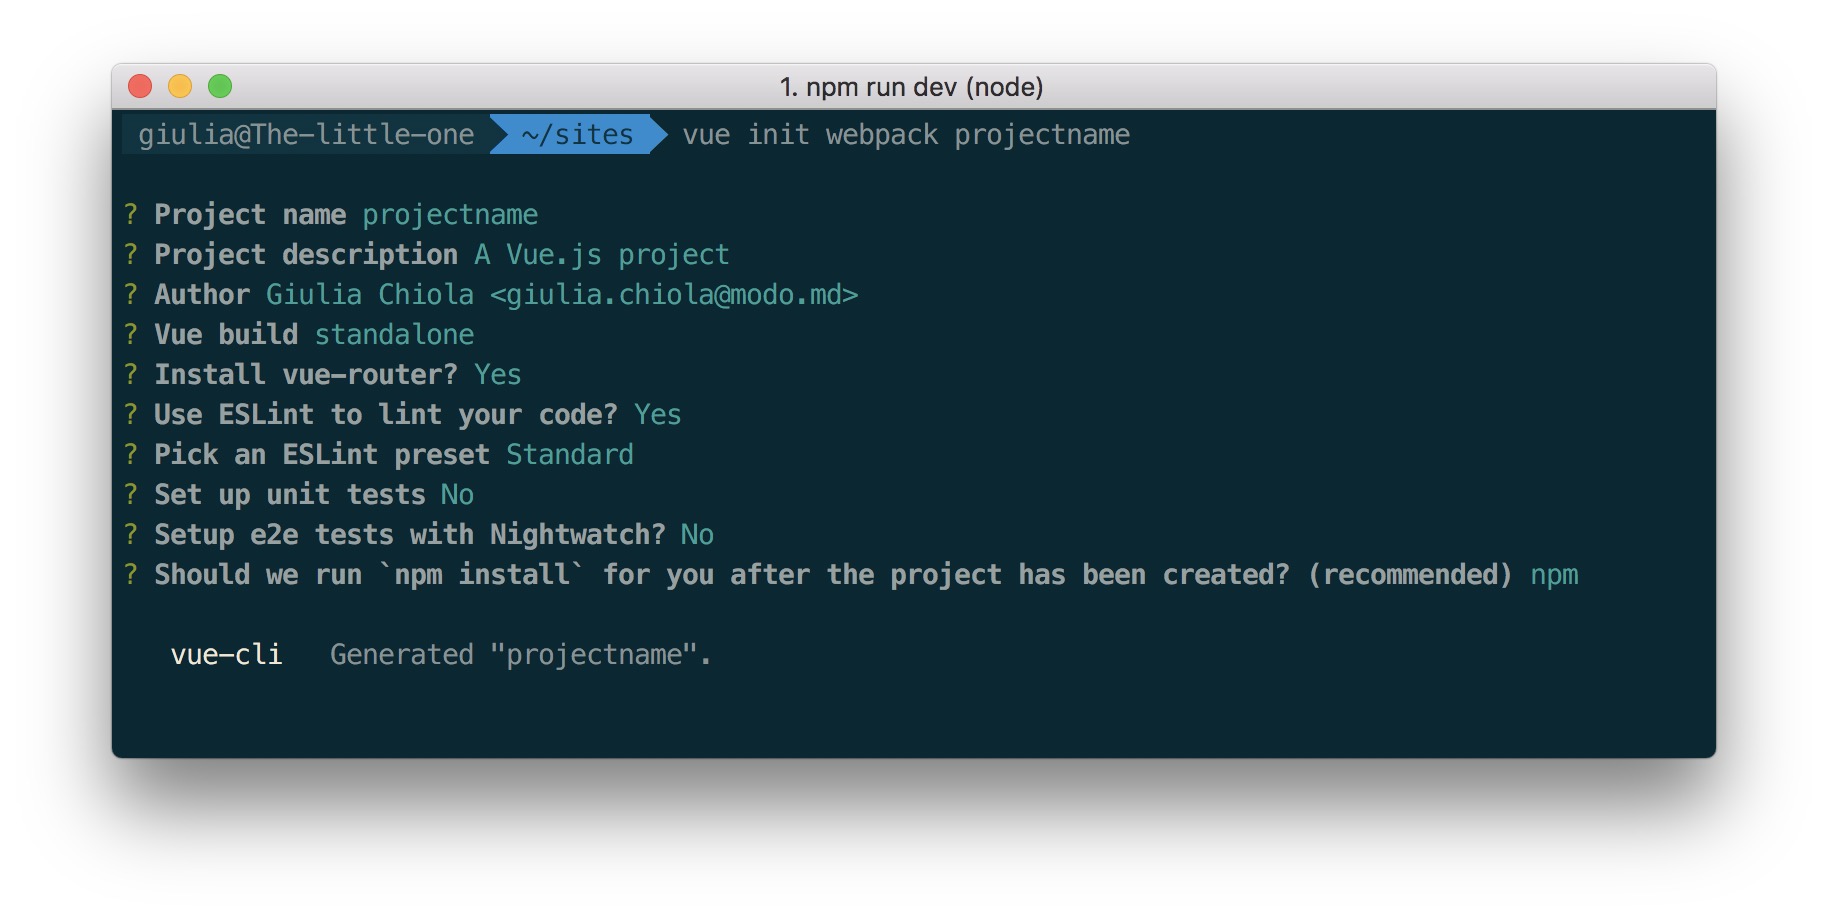
Great, we just created the scaffolding for the project.
If we want to see what we have achieved so far, let's do what the shell says: let's go into the folder and run the server in development mode
cd projectname
npm run dev
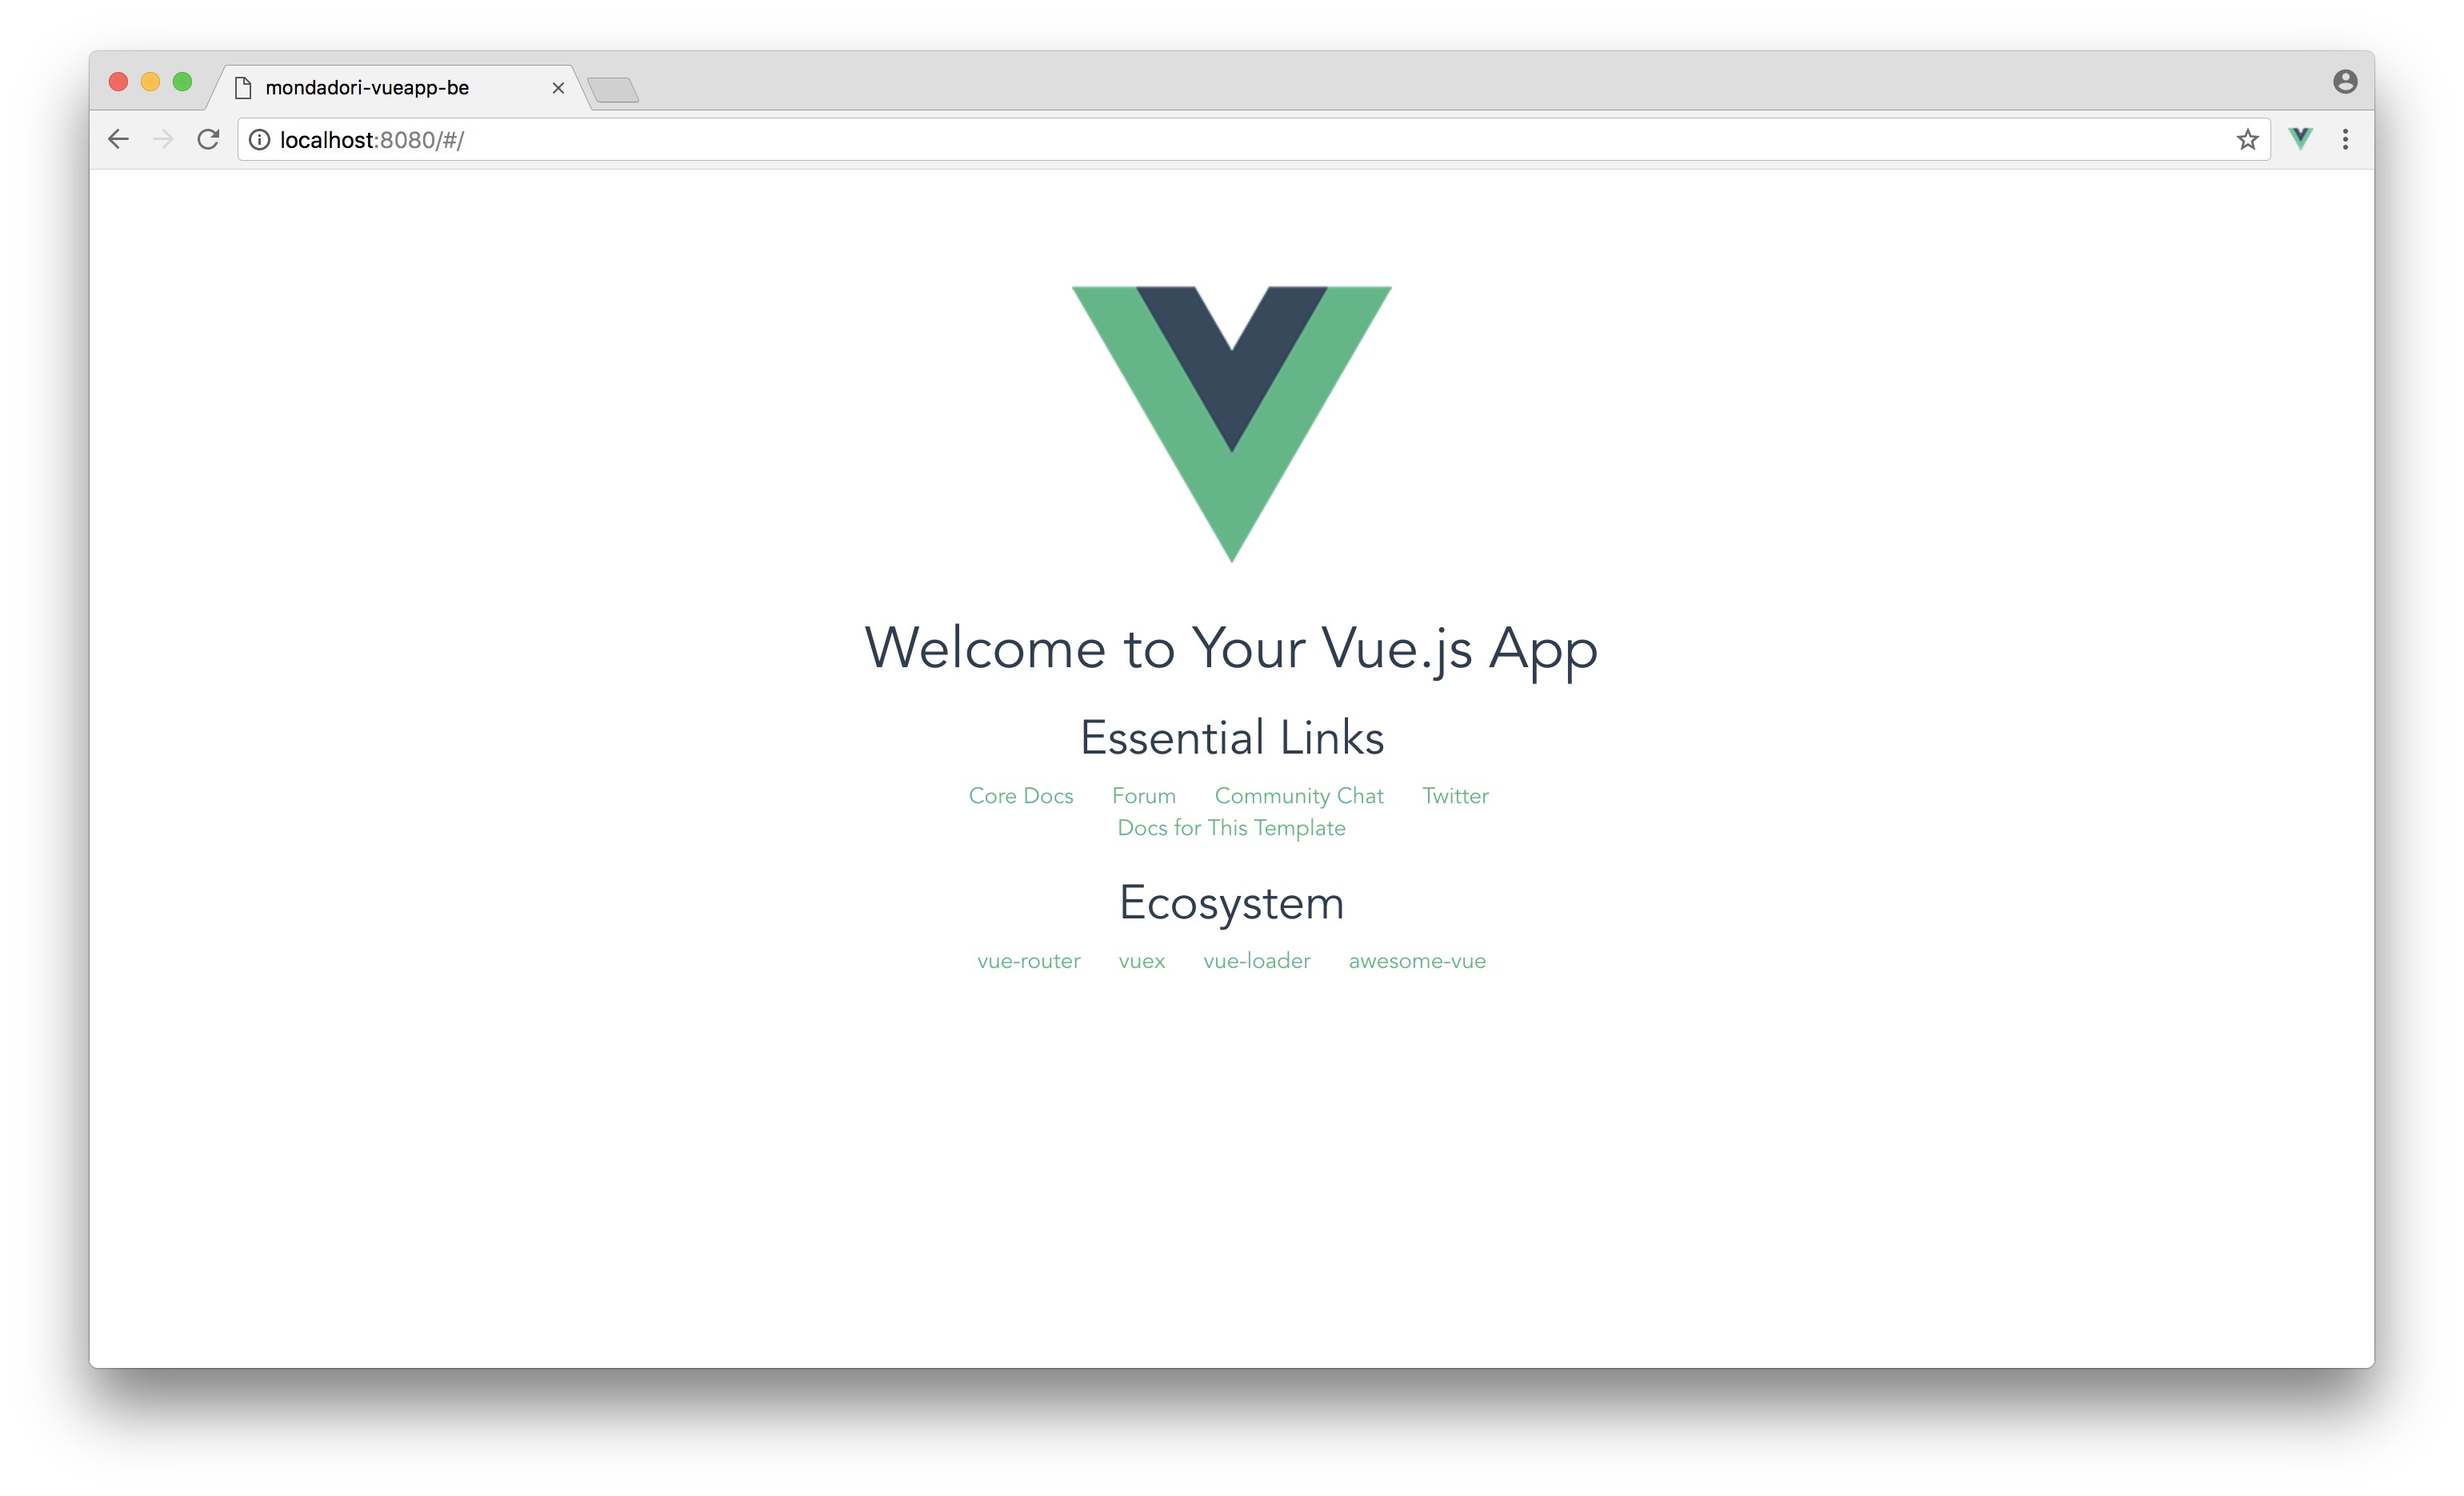
Open the browser at http://localhost:8080, you should see a nice homepage:
Analyze the files structure #
Let's analyze the important files involved in this setup:
├── index.html
│   ├── src/
│       └── components/
│       └── App.Vue
│       └── main.js
index.html
This is the page loaded by the browser in the first run. Inside it there is an HTML node with an id: <div id ="app"></div>. That's where the magic happens ✨: when VueJS is up and running that <div> is replaced with another identical node (see App.js below), but istead of being an empty node, the new node contains our whole Vue application.
That id (id="app" in our case, but it could be named as you prefer) is used by Vue to identify where to "hook" itself and inject the application.
<!DOCTYPE html>
<html>
  <head>
    <meta charset="utf-8">
    <title>Test project</title>

  </head>
  <body>
    <div id="app">
    <!-- built files will be auto injected -->
    </div>
  </body>
</html>

<style type="text/css">
</style>
src/App.vue
Inside it, there is a <template> tag with the app id reference inside <div id ="app">. That content is what we are seeing in the browser.
Important: it's not a coincidence that App component has only one node inside the <template> wrapper tag! Each Vue component must necessarily have a single node at its first level, which in turn can contain as many components we want:
<template>
  <div id="app">
    <MyComponent />
    <AnotherMyComponent />
  </div>
</template>
src/main.js
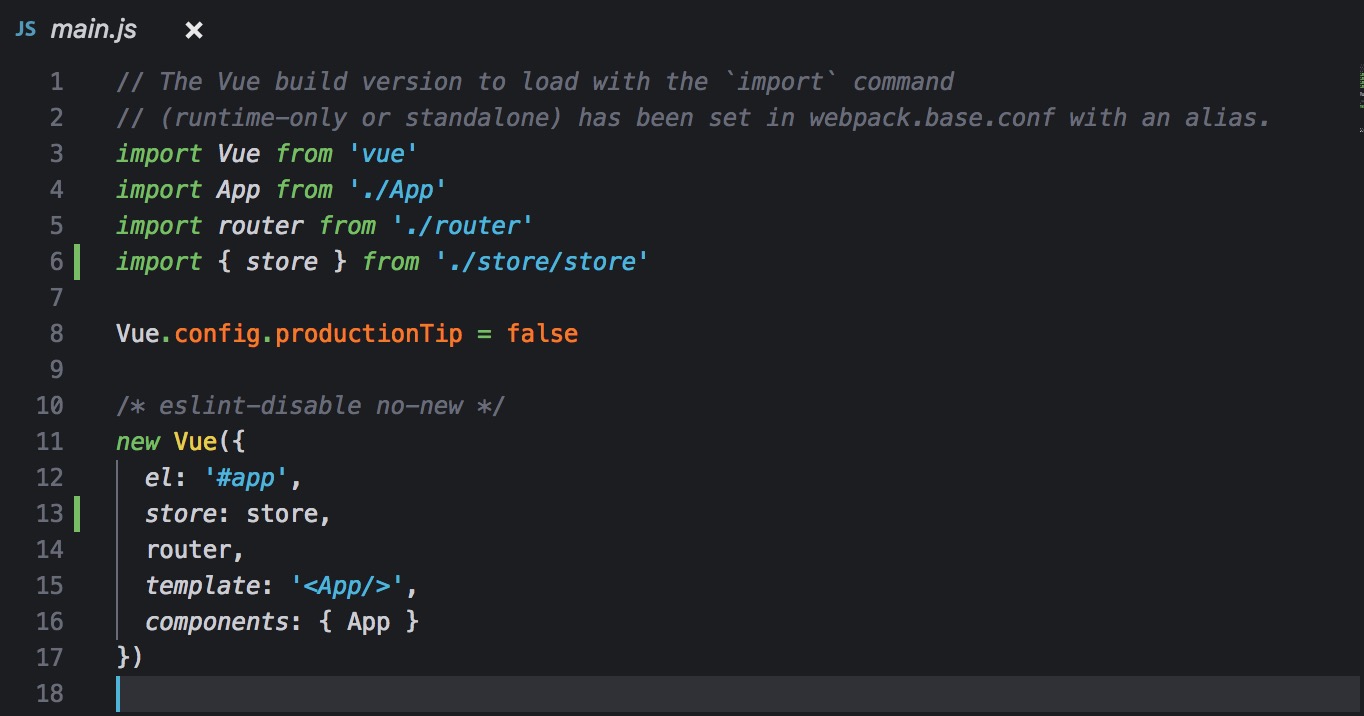
This is the main JavaScript file of the project, where Vue and the router are instantiated (here we could also add the store manager using Vuex)
import App from './App'

new Vue({
  template: `
    <div id="app"></div>
  `
}).$mount('#app')
Orgnize components with folders #
At this point, I have a Vue application up and running, but I like to be organized so let's take it a little bit further: by default Vue wants that we save all .vue components inside the components directory directly, but we can also create subfolders to make them more tidy.
Keep in mind that it is webpack that resolves paths of components directories, so we have to tell him what to do with our subfolders.
├── src
│   ├── components
│       └── elements
│           └── HelloWord.vue
│       └── icons
│       └── layout
│       └── templates
Let's go to webpack settings and add some alias to those already present. I have just added icons, elements, layout, templates.
// webpack.base.conf.js

resolve: {
    extensions: ['.js', '.vue', '.json'],
    alias: {
      'vue $': 'vue / dist / vue.esm.js',
      '@elements': resolve ('src / components / elements'),
      '@icons': resolve ('src / components / icons'),
      '@layout': resolve ('src / layout'),
      '@templates': resolve ('src / components / templates'),
      '@components': resolve ('src / components'),
      '@root': resolve ('src')
    }
}
Using that config above, in every component inside the components/ folder, we can include the other ones, preceded by the folder alias.
E.g. <HelloWorld> is inside components/elements folder, so:
// layout/MyLayout.vue

import HelloWorld from '@elements/HelloWorld.vue'
// plain syntax
// import HelloWorld from '../elements/HelloWorld.vue'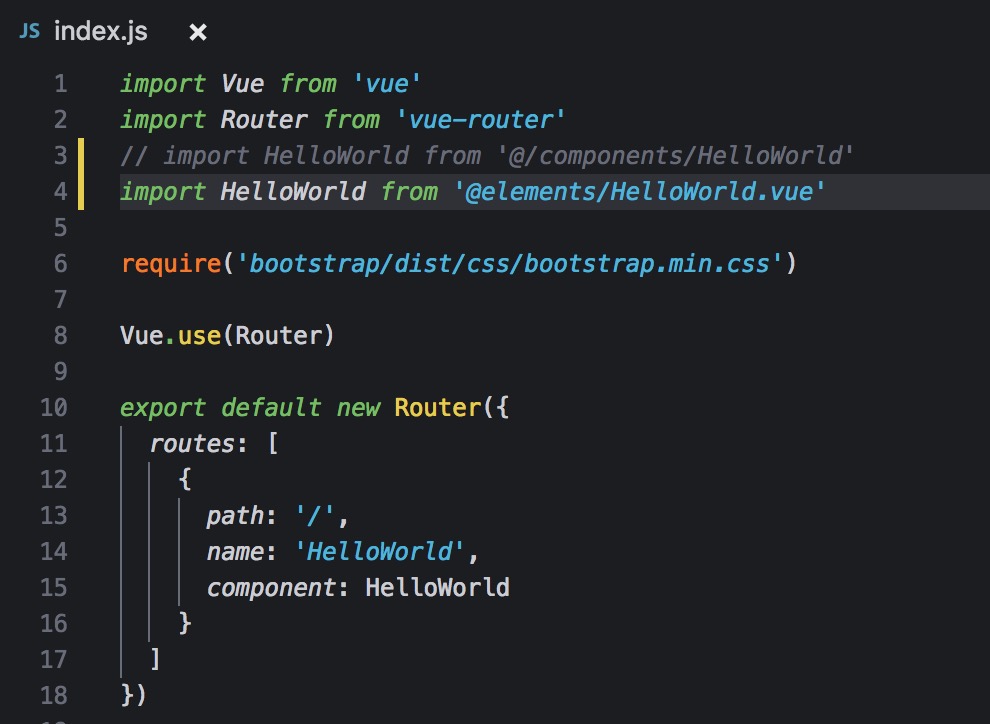
To check everything is ok this far, add HelloVue.vue in your main.js and check that everything works.
Remember that a best practice would be to not include components inside main.js, but keeping that file just for the Vue instance. Best practices say you sould import components in templates, and templates should be called by the Vue Router.
2. Vuex #
Long story short: Vuex is a state management pattern for Vue applications. It serves as a centralized repository for all components of an application, with rules ensuring that state can only be changed in a predictable way.
Installing Vuex is optional, as not all Vue applications use it.
Before installing Vuex, ask yourself "Will I need a place to save global data with a defined state, and use it from different components?"
If the answer is Yes, then you should install it. In this project, I know that I will have to manage data. I need a single place to save that data, and the possibility to go back and forth manipulating it, so let's see how to install Vuex, our "data store".
🧨 !important
Pay attention to one thing: there is another place, appareantly easier to conifgure (it is built-in with our Vue installation, you do not need to install Vuex to have it): the$root.In my first Vue project I succumbed - like everyone else - to the temptation to use the root to save data. Bad choice. Because
$rootis not that easy to keep up-to-date with latest data, especially when you have concurrent updates that changes data from two different components. 🤯
Okay, back to us, let's install Vuex:
npm install vuexGo to src folder, and create a store subfolder with the store.js file inside it. The store.js file is where we will set all Vuex store settings:
├── src
│   ├── assets
│   ├── components
│   ├── router
│       └── index.js
│   ├── store
│       └── store.js
// store.js
import Vue from 'vue'
import Vuex from 'vuex'
Vue.use (Vuex)
export const store = new Vuex.Store ({})In main.js we have to import the store:
// main.js

import {store} from './store/store'

new Vue ({
  store: store,
})
Okay, Vuex ready. Let's go to the next step.
📚 More info
3. Styles #
To style Vue components, the most common way is to put the CSS at the bottom of the component inside a <style> tag.
If we prefer to use SASS instead of plain CSS, we have to install some sass packages as dev-dependencies:
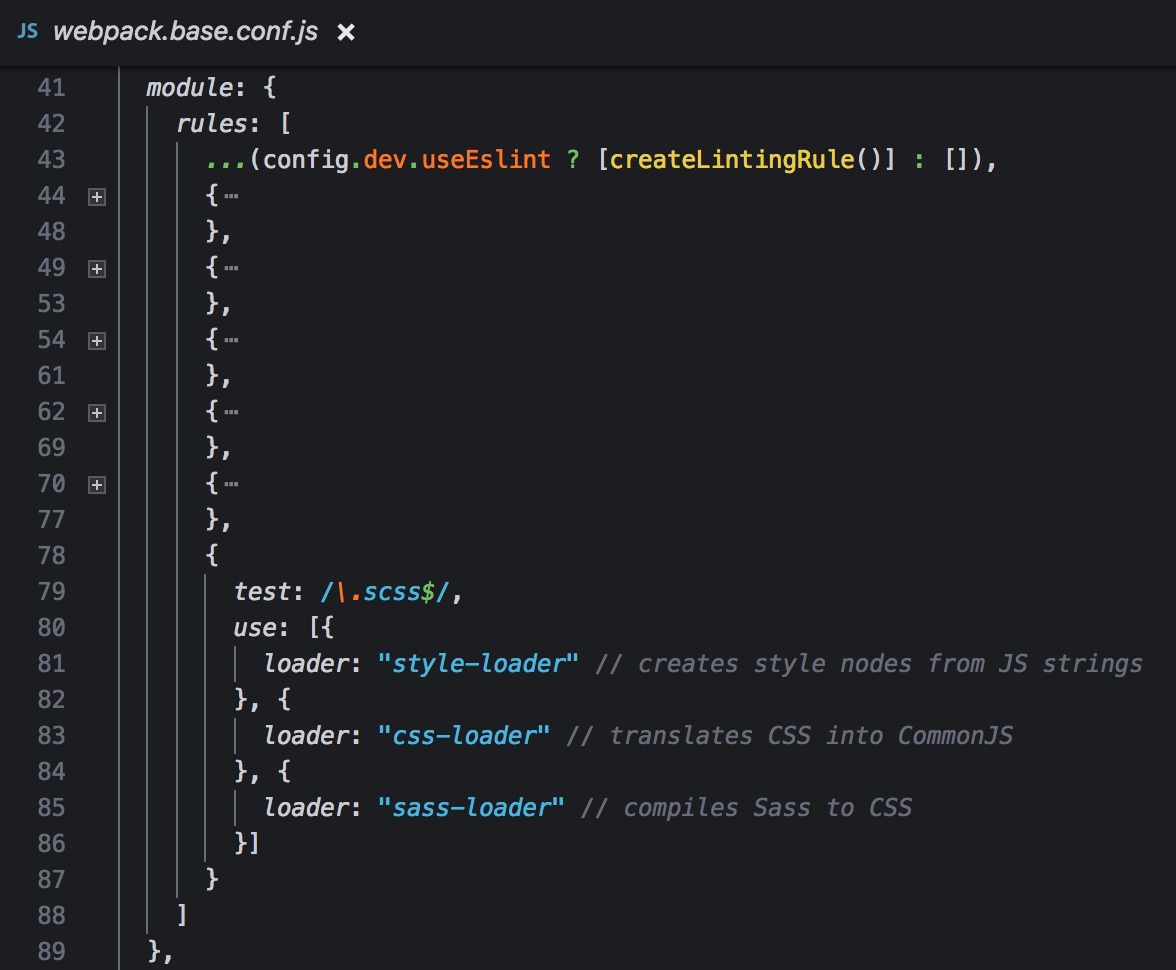
npm install sass-loader node-sass webpack --save-dev`Inside webpack configuration we have to add few rules to load and run correctly sass plugins:
// webpack.base.conf.js

var path = require('path')
var webpack = require('webpack')

module.exports = {
  ...
  module: {
    rules: [
      ...
      {
        test: /\.scss$/,
        use: [{
            loader: "style-loader" // creates style nodes from JS strings
        }, {
            loader: "css-loader" // translates CSS into CommonJS
        }, {
            loader: "sass-loader" // compiles Sass to CSS
        }]
    }
    ]
  }
}
Ok, now inside the Vue components we can write our styles in SCSS or SASS, just adding the lang attribute:
<style lang="scss">
.test {
  color: red;

  &.test--main {
    color: blue;
  }
}
</style>
Note: if you want to write a style that affects exclusively the component where it is declared, and does not affect anything else, then add the scoped attribute:
<style lang="scss" scoped>
  ...
</style>
📚 More info
5. Bootstrap #
A small note concerning Bootstrap usage. I do not like to use Bootstrap in my day-by-day work: I should override most of what is declared on Bootstrap styles, as customers always want custom stuff. But in my humble opinion there are use cases where it is really convenient to use: for instance, when you have to create a quick mockup just to show a functionality.
Let's see how to integrate that into our project.
Install the Boostrap library, url and file loaders are required:
npm install bootstrap --save
npm install file-loader url-loader --save-dev
To use Bootstrap in our components, we need a require of the CSS files in main.js:
// main.js

import Vue from 'vue'
import App from './App'

require('bootstrap/dist/css/bootstrap.min.css')

new Vue({
  template: `<div id="app"></div>`}).$mount('#app')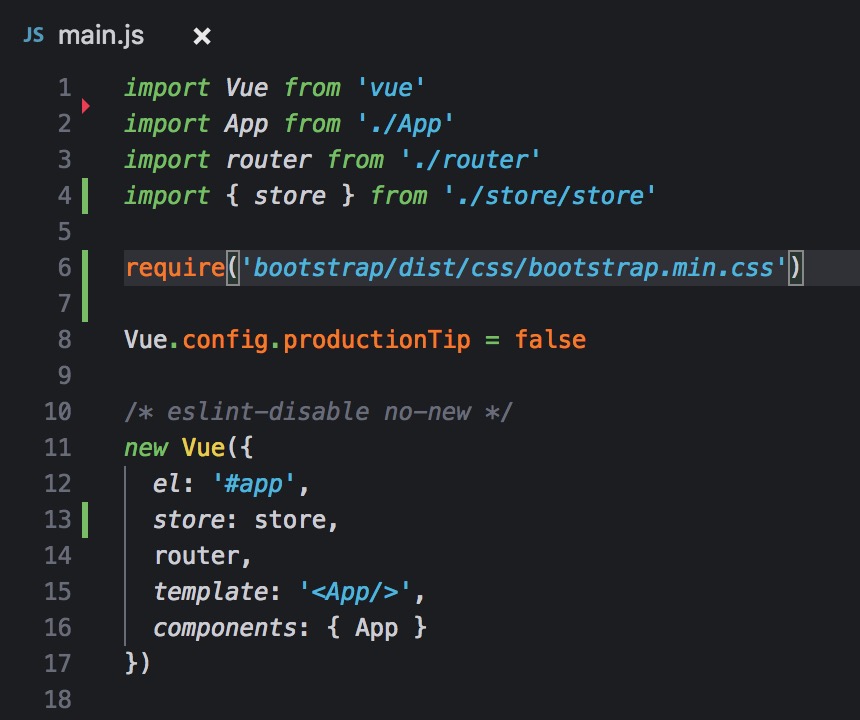
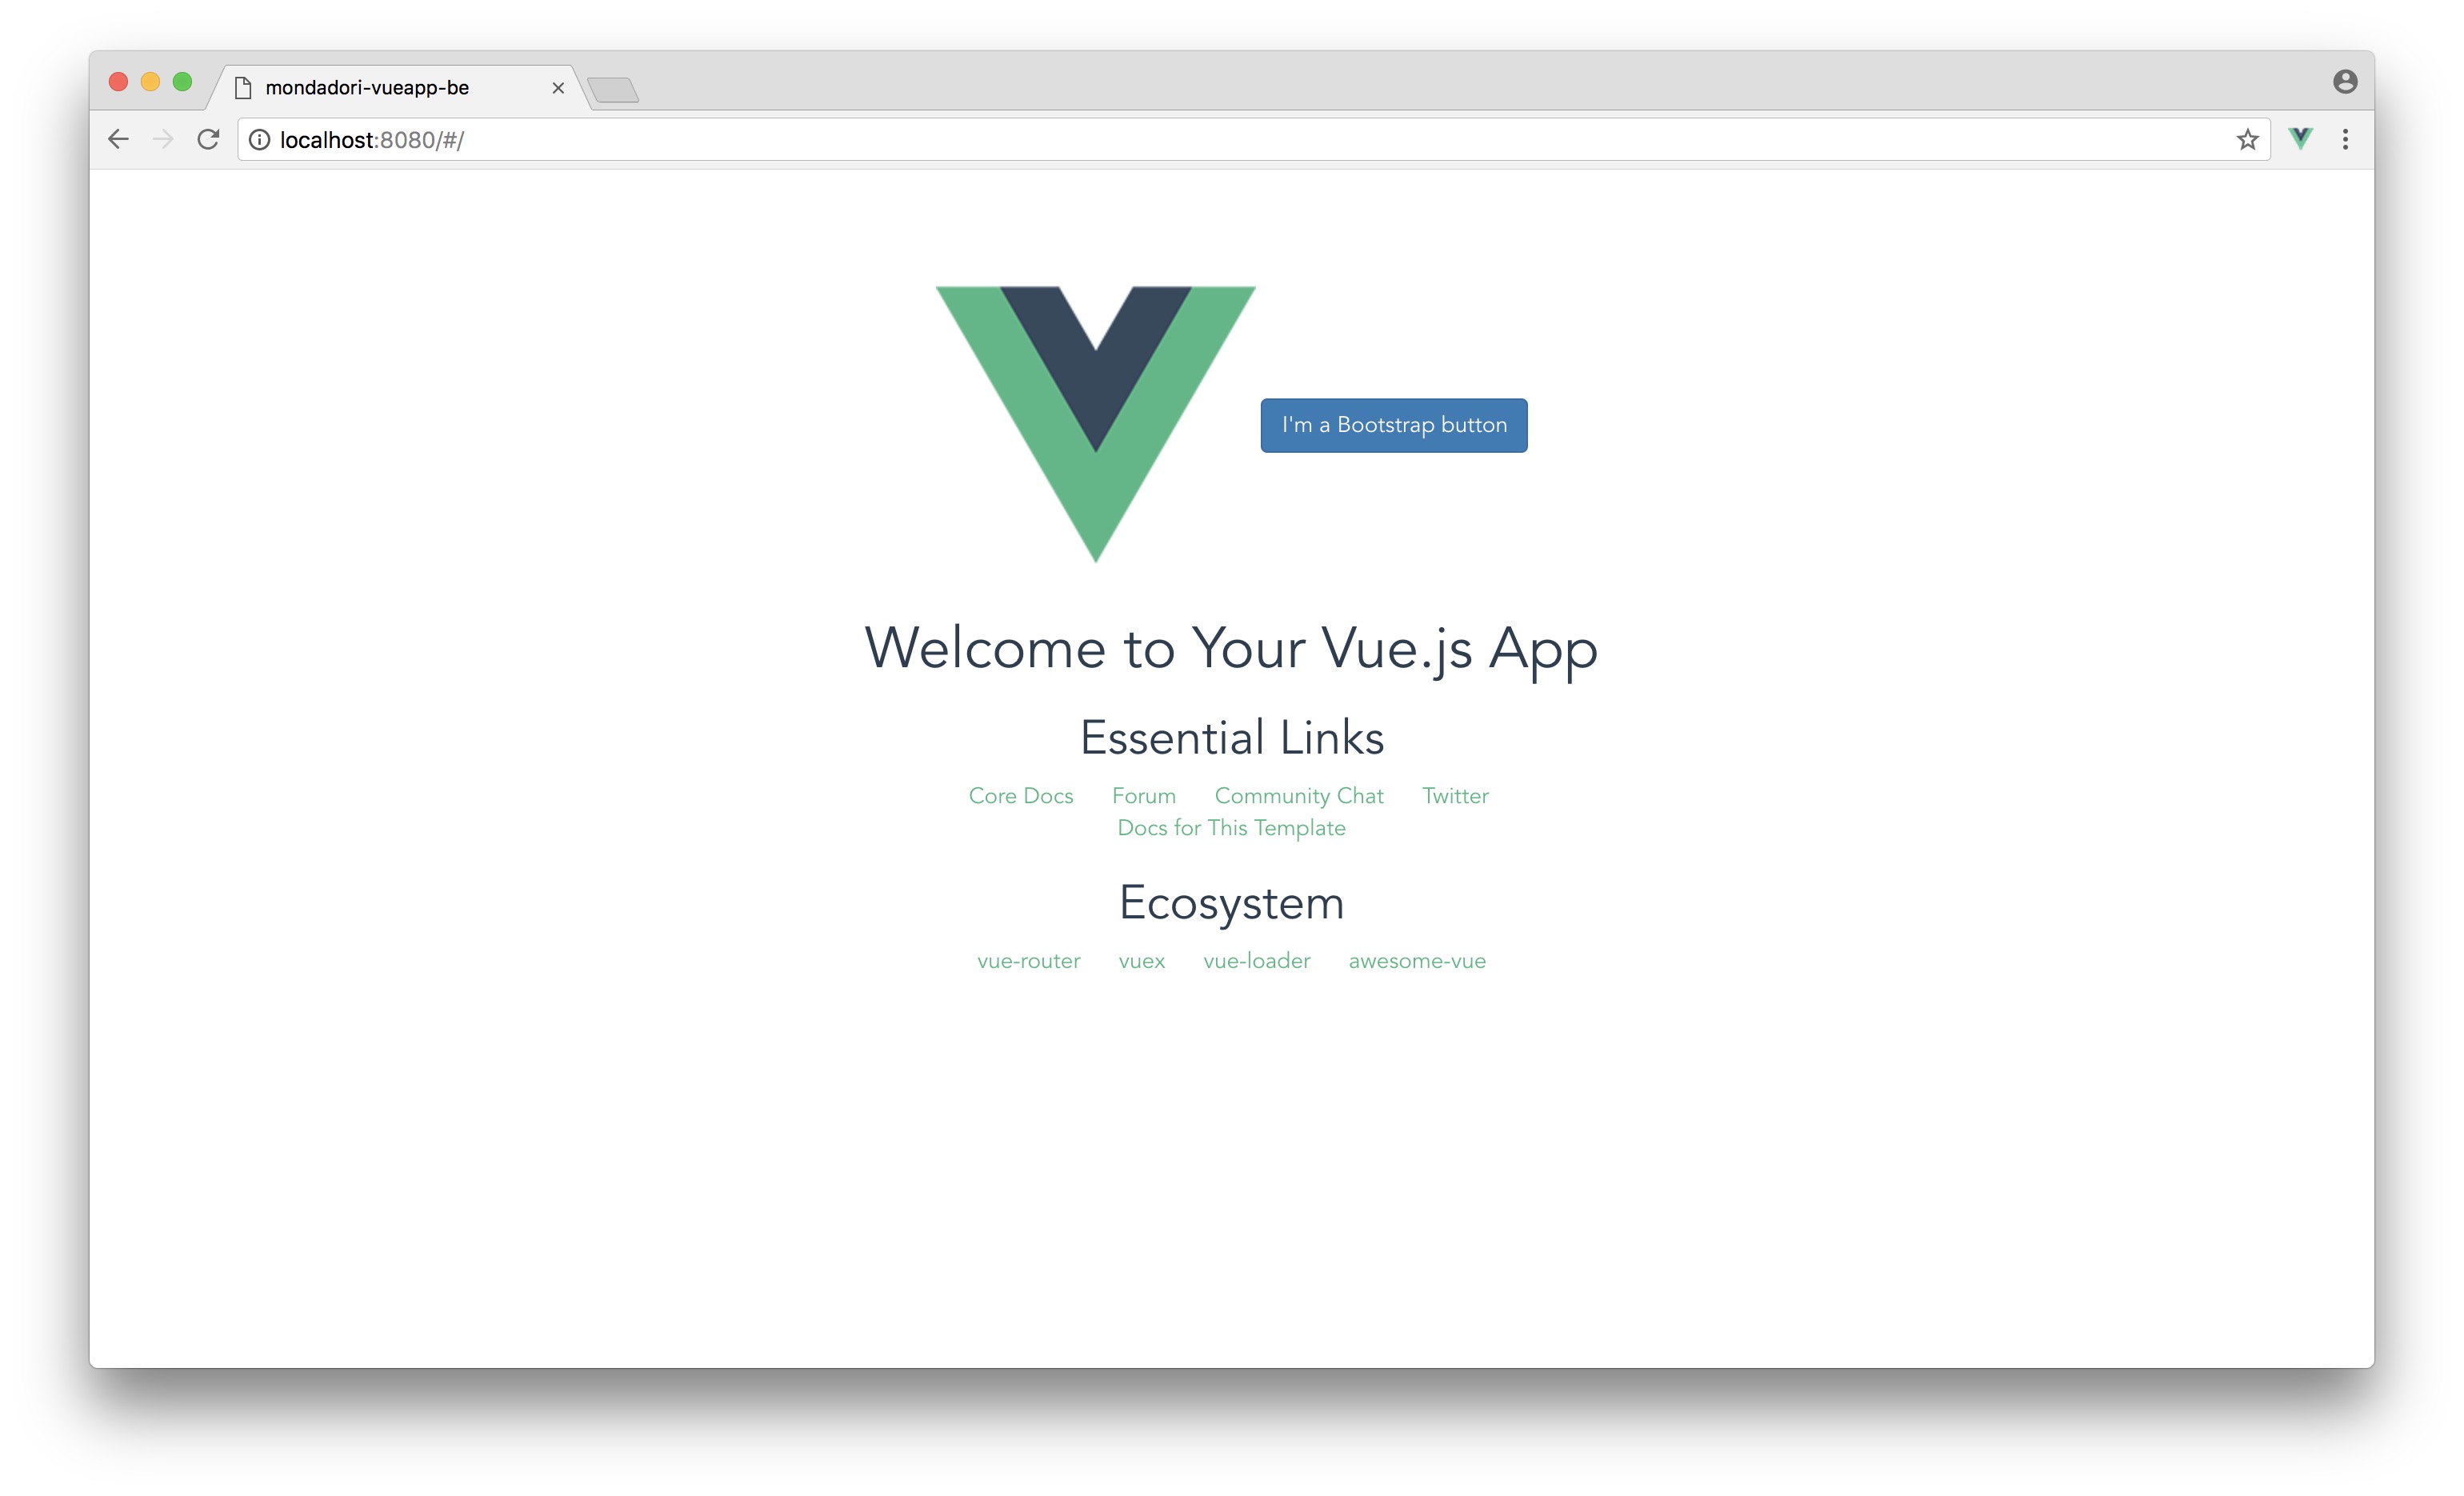
Now, just for testing purpose, add a test component with Bootstrap classes in your App.vue:
<template>
  <div id="app">
    <input type="button" class="btn btn-primary" value="I'm a Bootstrap button">
  </div>
</template>
In your browser you should see the homepage with a Bootstrap styled input! 🍾